- Affiliate Program
- Company
- Login


- Features
- Lead Tracking
-
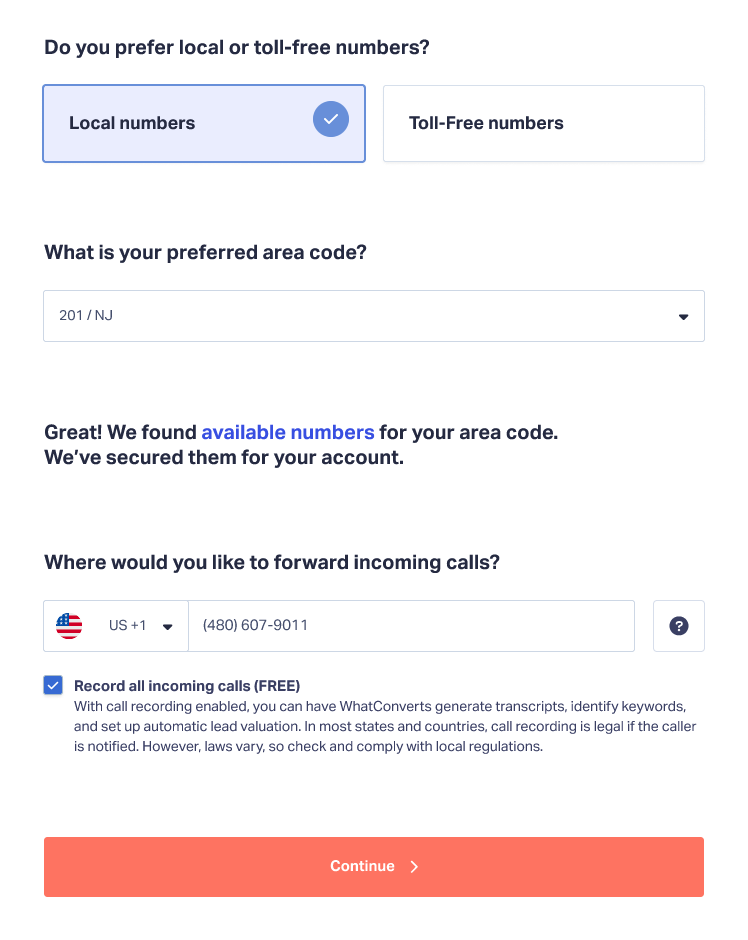
 Call Tracking
Track call leads back to marketing sources.
-
 Form Tracking
Easily track existing web forms on your site.
-
 Chat Tracking
Tie chat leads to marketing campaigns.
-
 eCommerce
See all your leads and sales in one place.
- Use Cases
- By Role
-
 Agencies
Show clients exactly how well your marketing works.
-
 Marketers
See how many qualified leads your marketing department delivers.
-
 Franchises
Track marketing efforts for every franchise, all from one platform.
-
 Businesses
WhatConverts reveals which marketing campaigns are working.
- By Industry
-
 Hospitality
See exactly where your customers are coming from.
-
 Finance and Insurance
Which marketing channels are driving new clients? Find out.
-
 Real Estate
See which marketing delivers renters and buyers.
-
 Automotive
Discover how new customers find your dealership.
-
 Health and Wellness
Create reports that show new patients vs. existing patients.
-
 Doctors and Medical
Easily separate calls from new patients vs. existing patients.
-
 Dental
Track every new patient back to the marketing source.
-
 Plastic Surgeons
See which marketing channels drive new patients.
-
 Education
Find out where your new students come from.
-
 HVAC and Plumbing
Calculate ROI from search ads, direct mailers and more.
-
 Lawyers
Learn which marketing delivers the most valuable clients.
-
 Manufacturing
A simple way to figure out where customers come from.
- Pricing
- Integrations
- Most Popular Integrations
-
 AgencyAnalytics
AgencyAnalytics is an all-in-one marketing dashboard made...
-
 Pipedrive
Finding the right CRM software or customer...
-
 Calendly
Calendly is a free scheduling tool that...
-
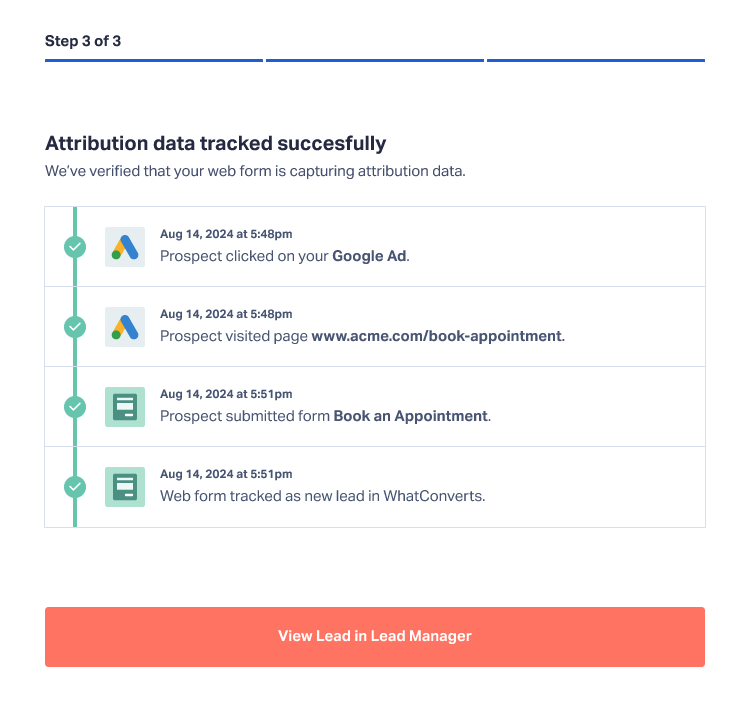
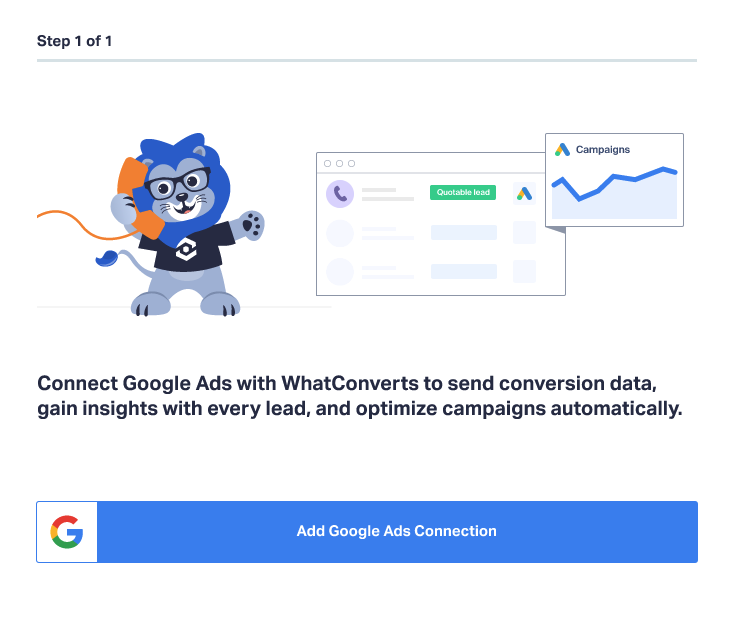
 Google Ads
Google Ads is the largest advertising platform...
-
 VWO
VWOWith WhatConvetrts, VWO users can track call...
-
 Bing Ads
Through Bing Ads, you can reach potential...
-
 Formsite
Formsite is a form building software that...
-
 SimpleTexting
WhatConverts can integrate with SimpleTexting so that...
-
 Formstack
Formstack is an easy-to-use online form builder...
-
 Facebook Ads
Facebook advertising offers businesses the ability to...
-
 Landingi
WhatConverts takes your Landingi landing pages to...
-
 Intercom
Intercom is a web chat platform created...
 Over 1000 integrations
Send and receive lead data seamlessly
- Support
-
 Help Center
Discover why our clients love the WhatConverts support staff.
-
 Blog
BlogLearn how to track your marketing.
-
 API for Developers
Get access to all the data in your WhatConverts account.
-
 Webinars
Exclusive tips and tricks to track your marketing.
-
 Schedule a Demo
Find out if WhatConverts is a good fit for your business.
-
 System Status 100%
Check the operational status of WhatConverts.
-